The secondary navigation bar is present throughout your exploration of LaunchCycle and includes many useful buttons for your use at any time.
![]() Launch Pad
Launch Pad
Your Launch Pad serves as the springboard to all of your tasks, projects, companies, and glances.
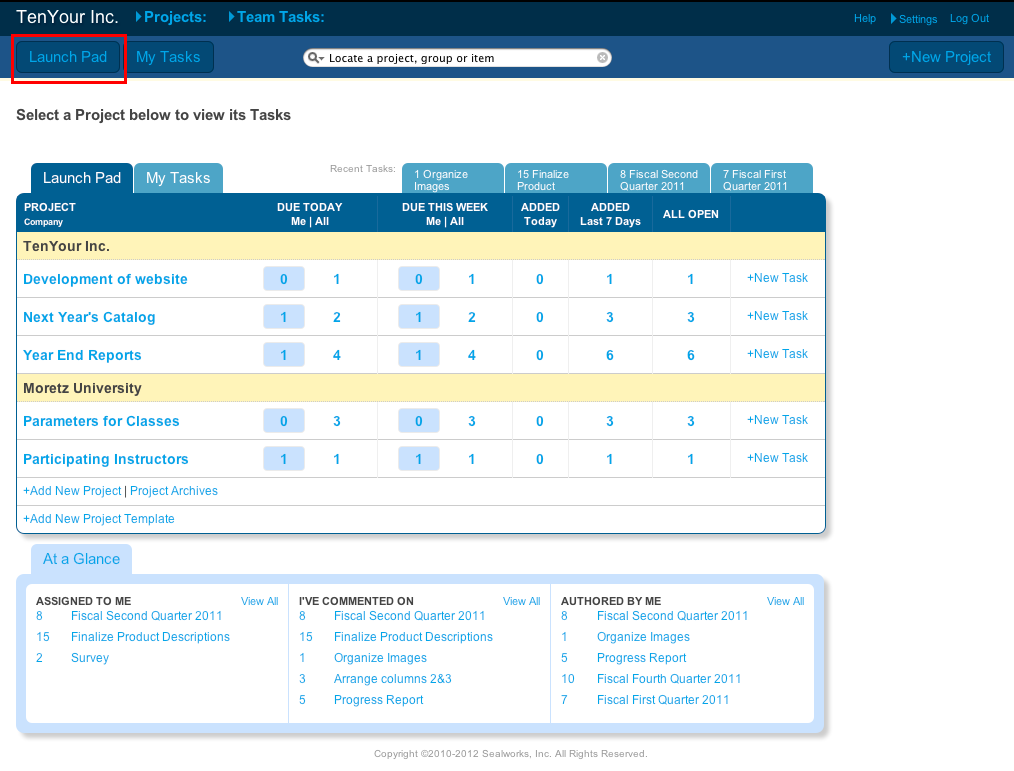
My Tasks
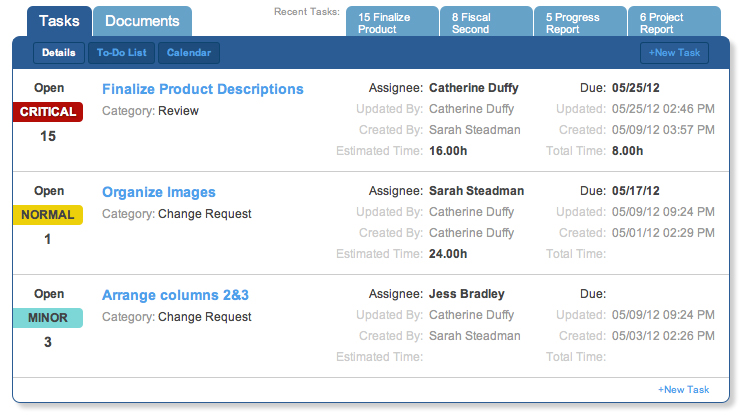
The My Tasks tab contains a comprehensive list of all of your tasks across all projects. You’ll notice four columns of information in the initial screen.
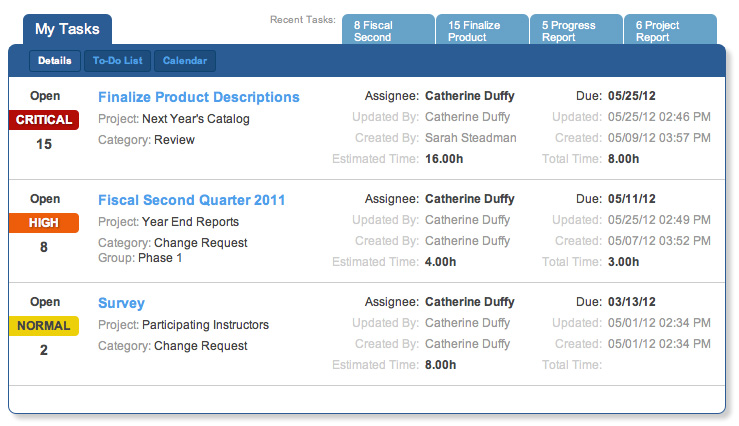
In the first column, there are three little pieces of information: the status of the task, the priority, and the number. The status could be open, resolved, closed, or on hold. The priority could be critical, high, normal, low, or minor. The number designated to a task is simply the number in which it was created.

In the second column of information is the name of the task, the project, the category, and the group (if it belongs to one.)

In the third column appears the task’s assignee, who updated the task last, who created the task and the time estimated to complete the task.

In the fourth column is an optional due date for the task, and when it was updated and created.
 Creating A Task
What if I want to create a new task? There are a few different ways to get to the new task set-up screen.
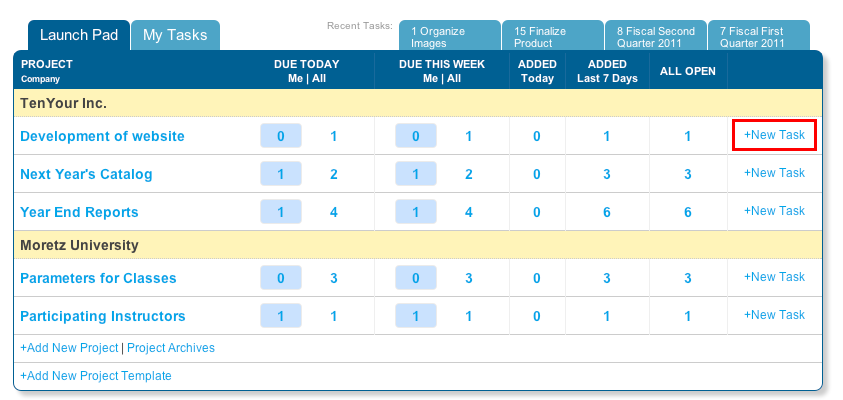
While on the Launch Pad, there are “+New Task” links next to each project. To create a new task within a project, just click the link next to that particular project.
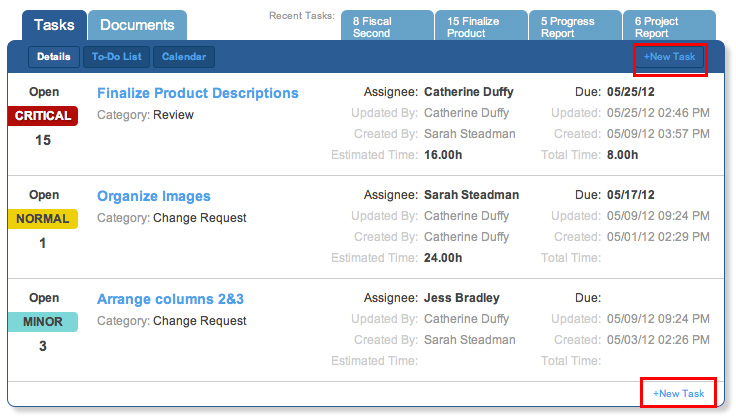
From within a project, you are able to create a new task in that project by clicking on the “+New Task” buttons in the top right and bottom right corners of the Tasks tab.
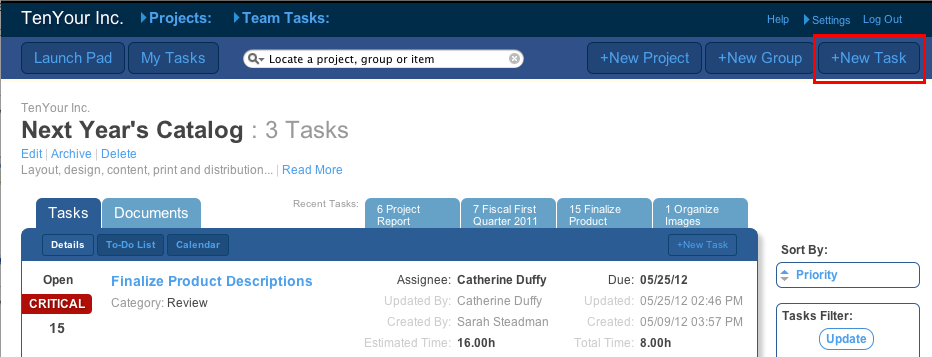
The final way to create a new task can be used any time you are within a project. Just click the “+New Task” link in the upper right on the secondary navigation bar and the task will be created for whichever project you are currently dealing with.
![]()
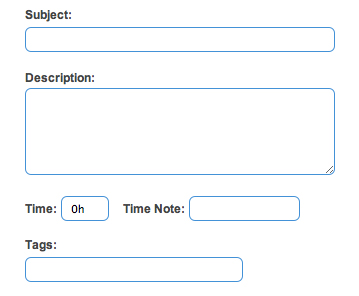
When you make your way to the set-up screen, you’ll notice a few fields that are waiting to be filled out. After giving your task a subject and description, enter any time spent on the task along with associated notes, and include any tags in which to search on.
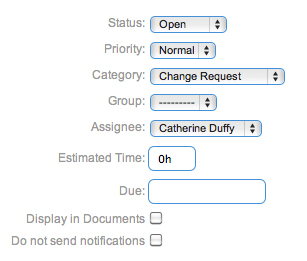
Be sure to select priority, category, group, and assignee in order to further clarify the issue. Some more options available are estimating the time the task will take and adding a due date for the assignee. You have the option of not only putting any attachment with the task, but also into the project documents bucket. You can also choose whether or not to send notifications along with task updates.
Task Views
The default task view is the “Details” view, but you can also choose the “To-Do List” or the “Calendar” view.
![]()
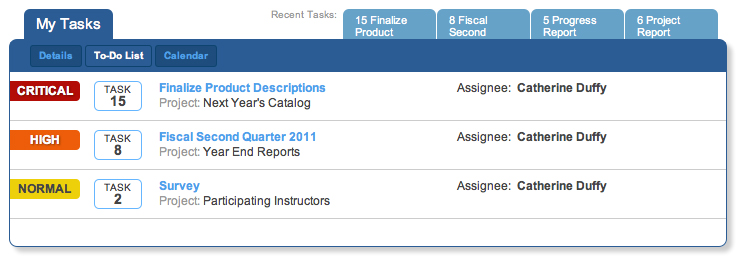
The “To-Do List” view displays only the priority, number, name, and assignee in a simple condensed view.
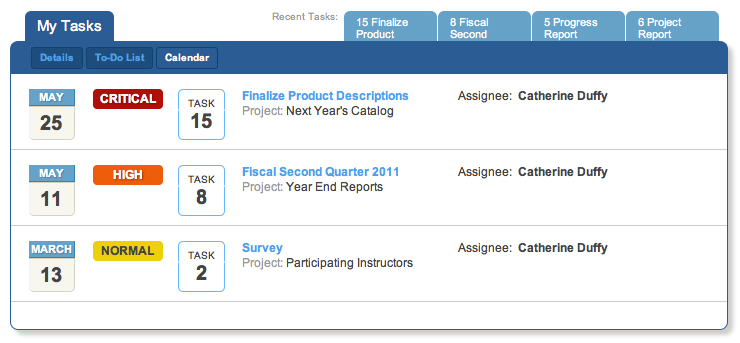
The “Calendar” view is similar to that of that “To-Do List”, but it also displays the due date.
When you click on a specific project, that project’s details tab appears. On this tab is a detailed list of tasks for that project. From left to right you will see the task’s status, priority, number, title, category, group, assignee, estimated time, a due date, and a total of time currently spent on that task. If you are the assignee or creator of a task, you will get an e-mail notification if any changes are made to the task.
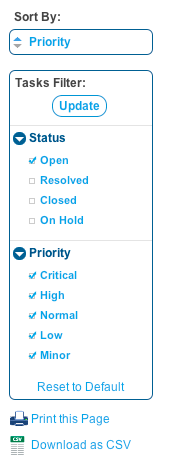
Don’t forget, you have a “Sort By” feature located in the right-hand margin, whereby you may select various sort options for your Launch Pad project listing.
Notifications
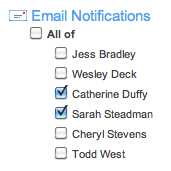
E-mail notifications are sent automatically to any contributor to a task when a task is created, edited, or changed in any way. You can also select additional team members who will receive the notification even if they have not previously contributed to the task in any way. When you click the blue Email Notifications link, names will appear and you may select the check box next to the names who you feel should receive information about the task.
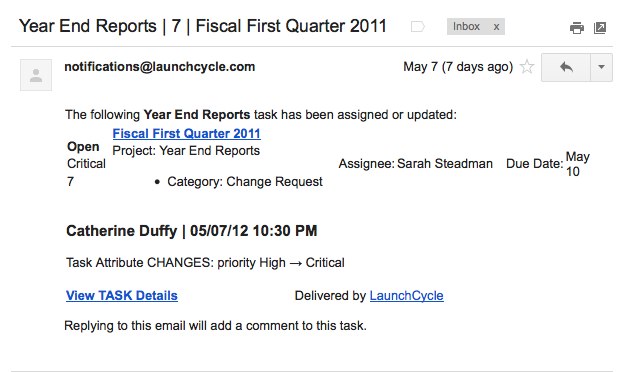
The e-mail notifications will arrive promptly in the user’s inbox and will look something like this:
Search Field
Type any word or phrase into the search field and hit enter to see the results of your search request. You can enter keywords for a task, project, group, or company, and results will populate.
![]()
+New Project
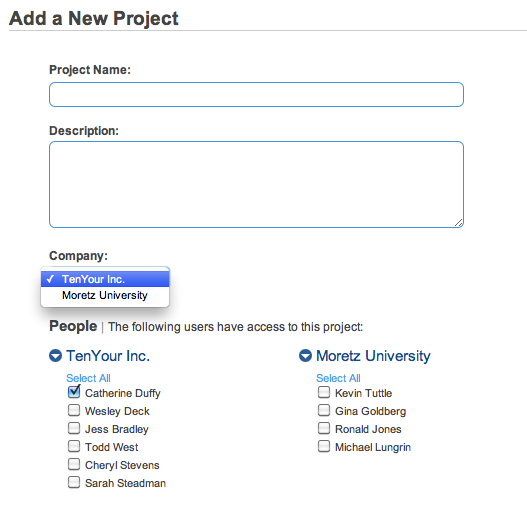
In the Add New Project opening screen, you can name the project, add a description and then select the company you’d like to associate it with. You can also include specific people whom have access.
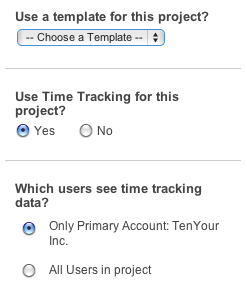
You may also wish to include the time tracking feature to this project and decide who can see this.
Click the Save button to save the new project and it will now appear on your Launch Pad, ready for tasks to be added!
+New Group
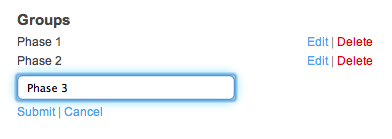
Groups are a fantastic way to organize a more complicated series of tasks all related to one item (ex. Phase 1, Phase 2, etc.) To fix one glitch, several people may have to do several different things. Groups allow you to see that one issue and the variety of tasks associated with it.
+New Task
This button will only appear in the upper right of your screen when you are within a specific project.
When you make your way to the set-up screen, you’ll notice a few fields that are waiting to be filled out. After giving your task a subject and description, enter any time spent on the task along with associated notes, and include any tags in which to search on.

Be sure to select priority, category, group, and assignee in order to further clarify the issue. Some more options available are estimating the time the task will take and adding a due date for the assignee. You have the option of not only putting any attachment with the task, but also into the project documents bucket. You can also choose whether or not to send notifications along with task updates.
